

The Course
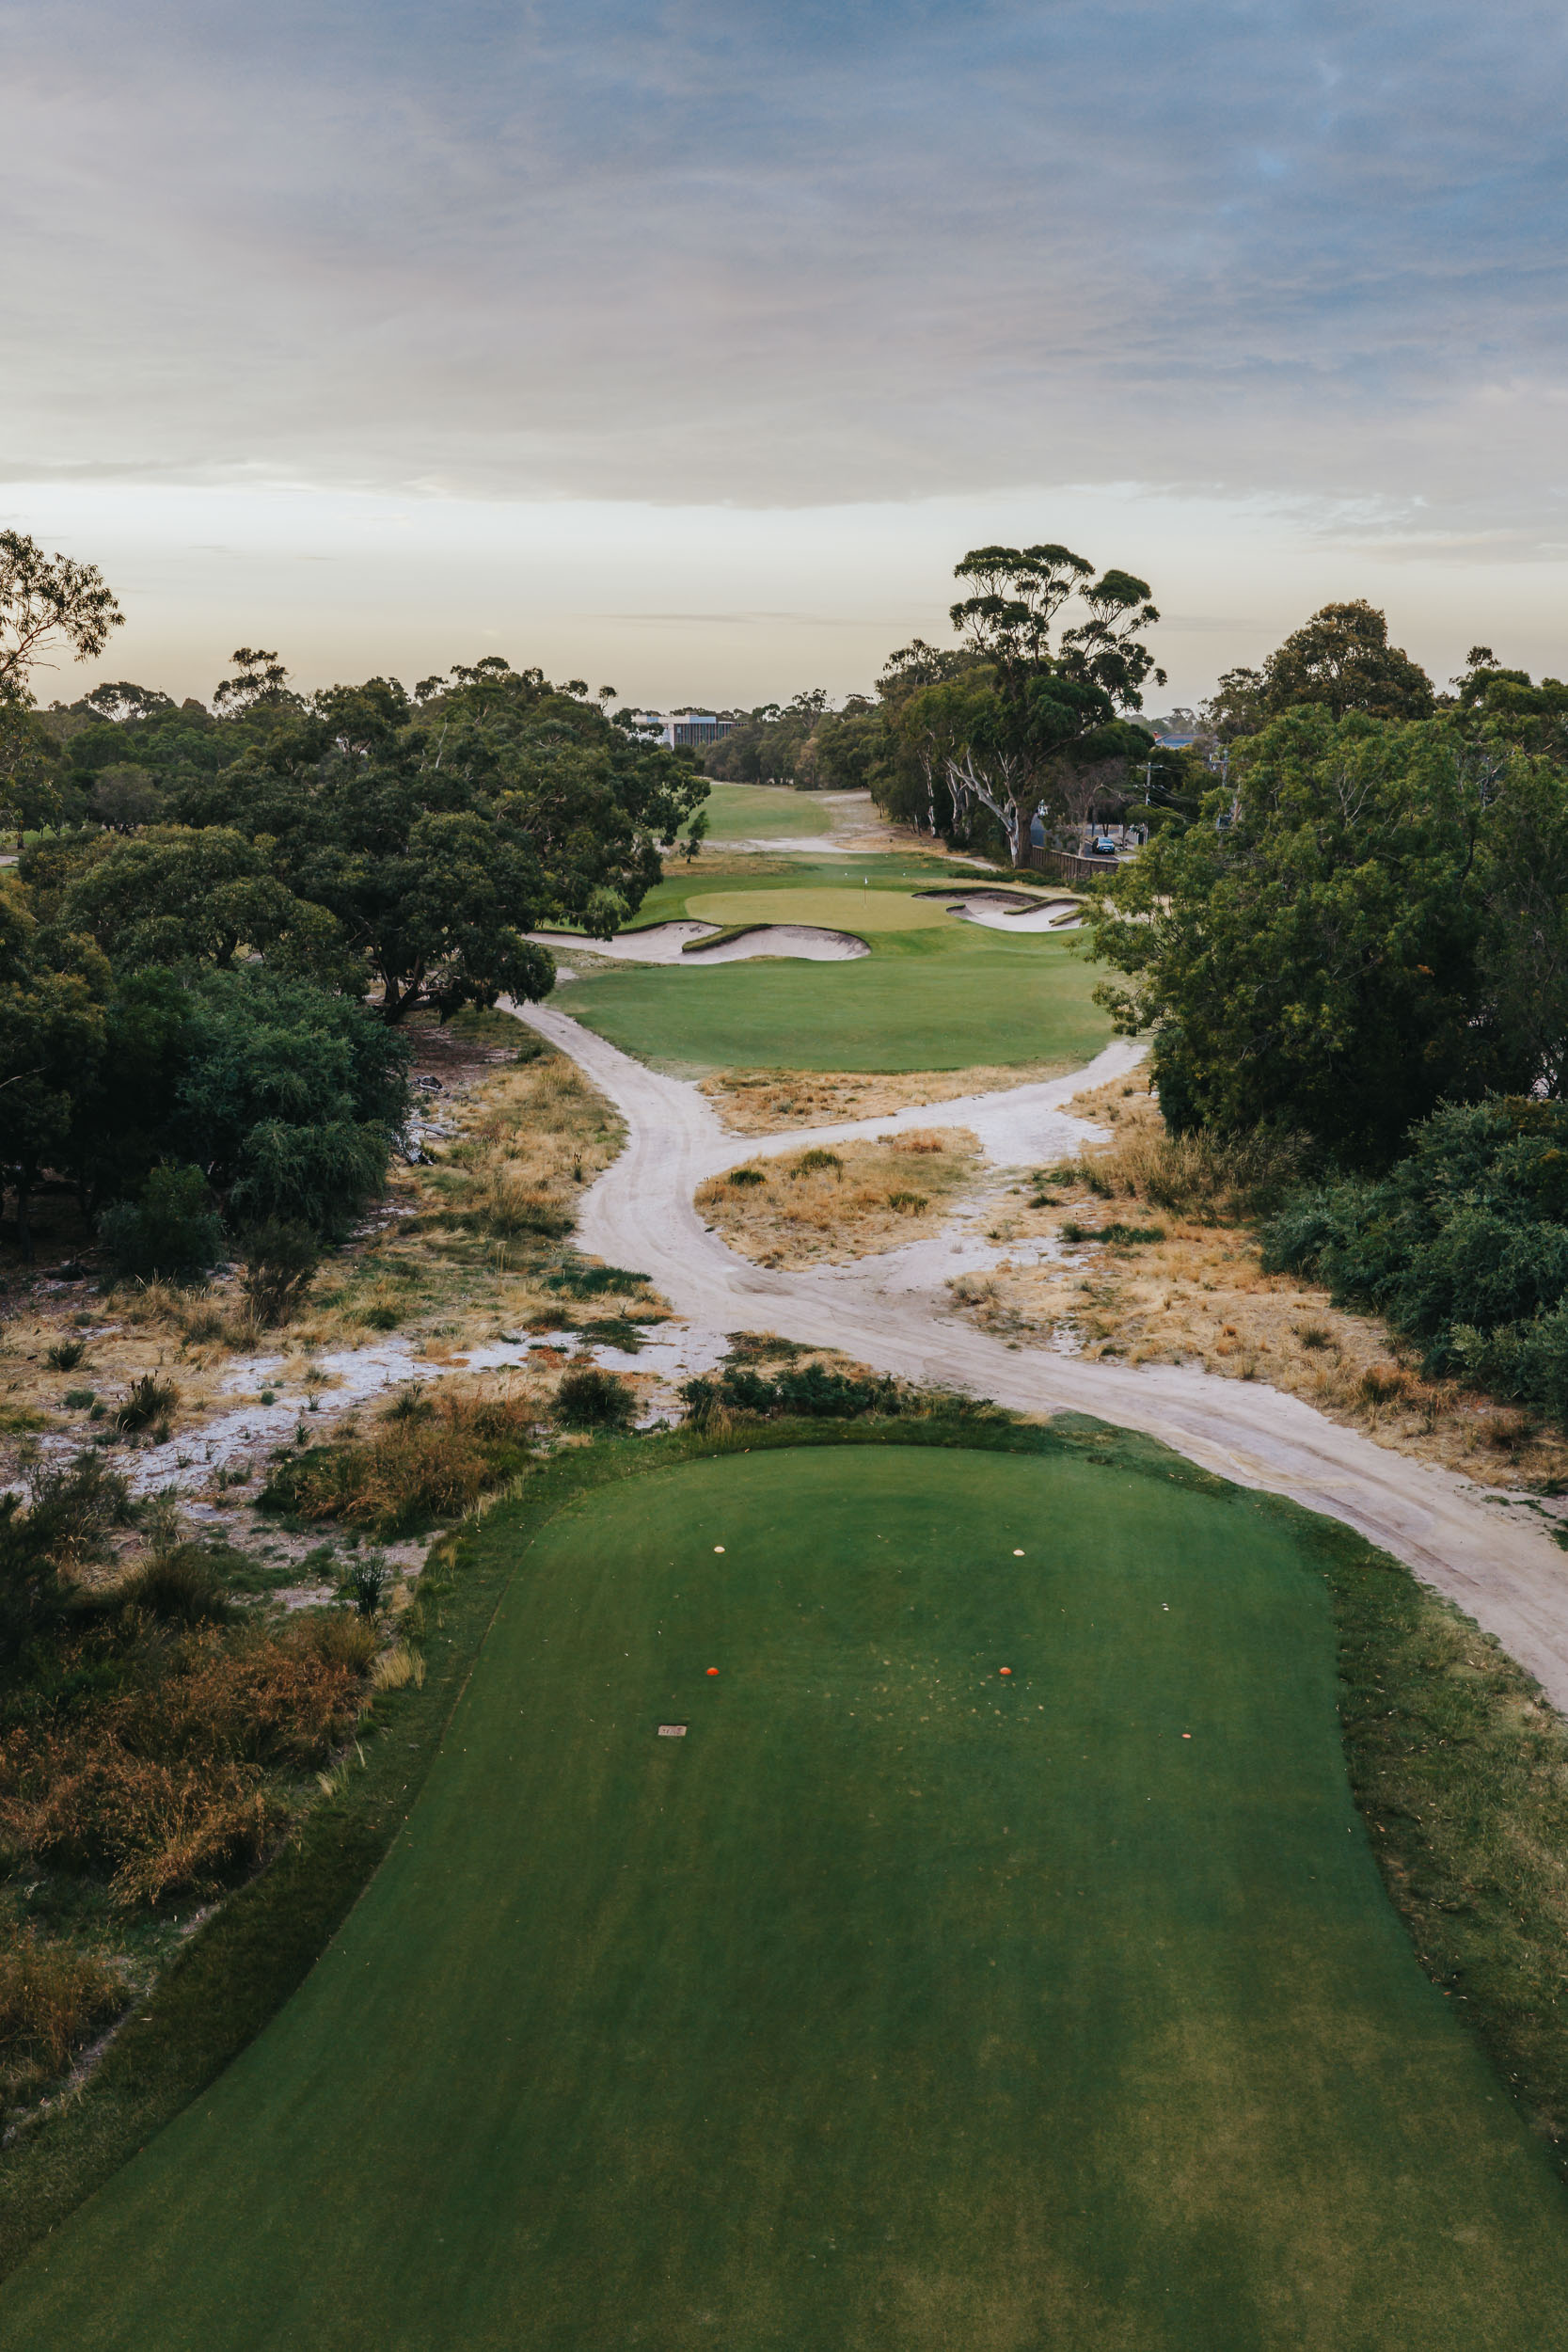
Small Greens. Big Decisions.
Woodlands is not a course you can overpower, it is a course you must negotiate.
Our greens are famously small and kept to exacting standards. Because they are firm and fast, the best approach is often to run the ball up, a traditional shot rarely found in modern design. The narrow fairways, all pure couch, offer a superb surface from which to play and reward golfers who keep the ball in position.
Strategic bunkering, a hallmark of Melbourne’s Sandbelt, is a defining feature of the layout. The bunkers at Woodlands are deep and well-placed, demanding respect from tee to green. The stretch of holes through the 7th, 8th, 9th and 10th presents one of the finest tests of golf on the Sandbelt. Par through that gauntlet is a genuine accomplishment.
Course Overview:
Par 72 | 18 Holes + The Centenary Hole (19th)
Designed by:
J.D.A. Scott (1918), Mick Morcom, Alec Russell (1934–36), and Tom Doak (2013)
Course Tour
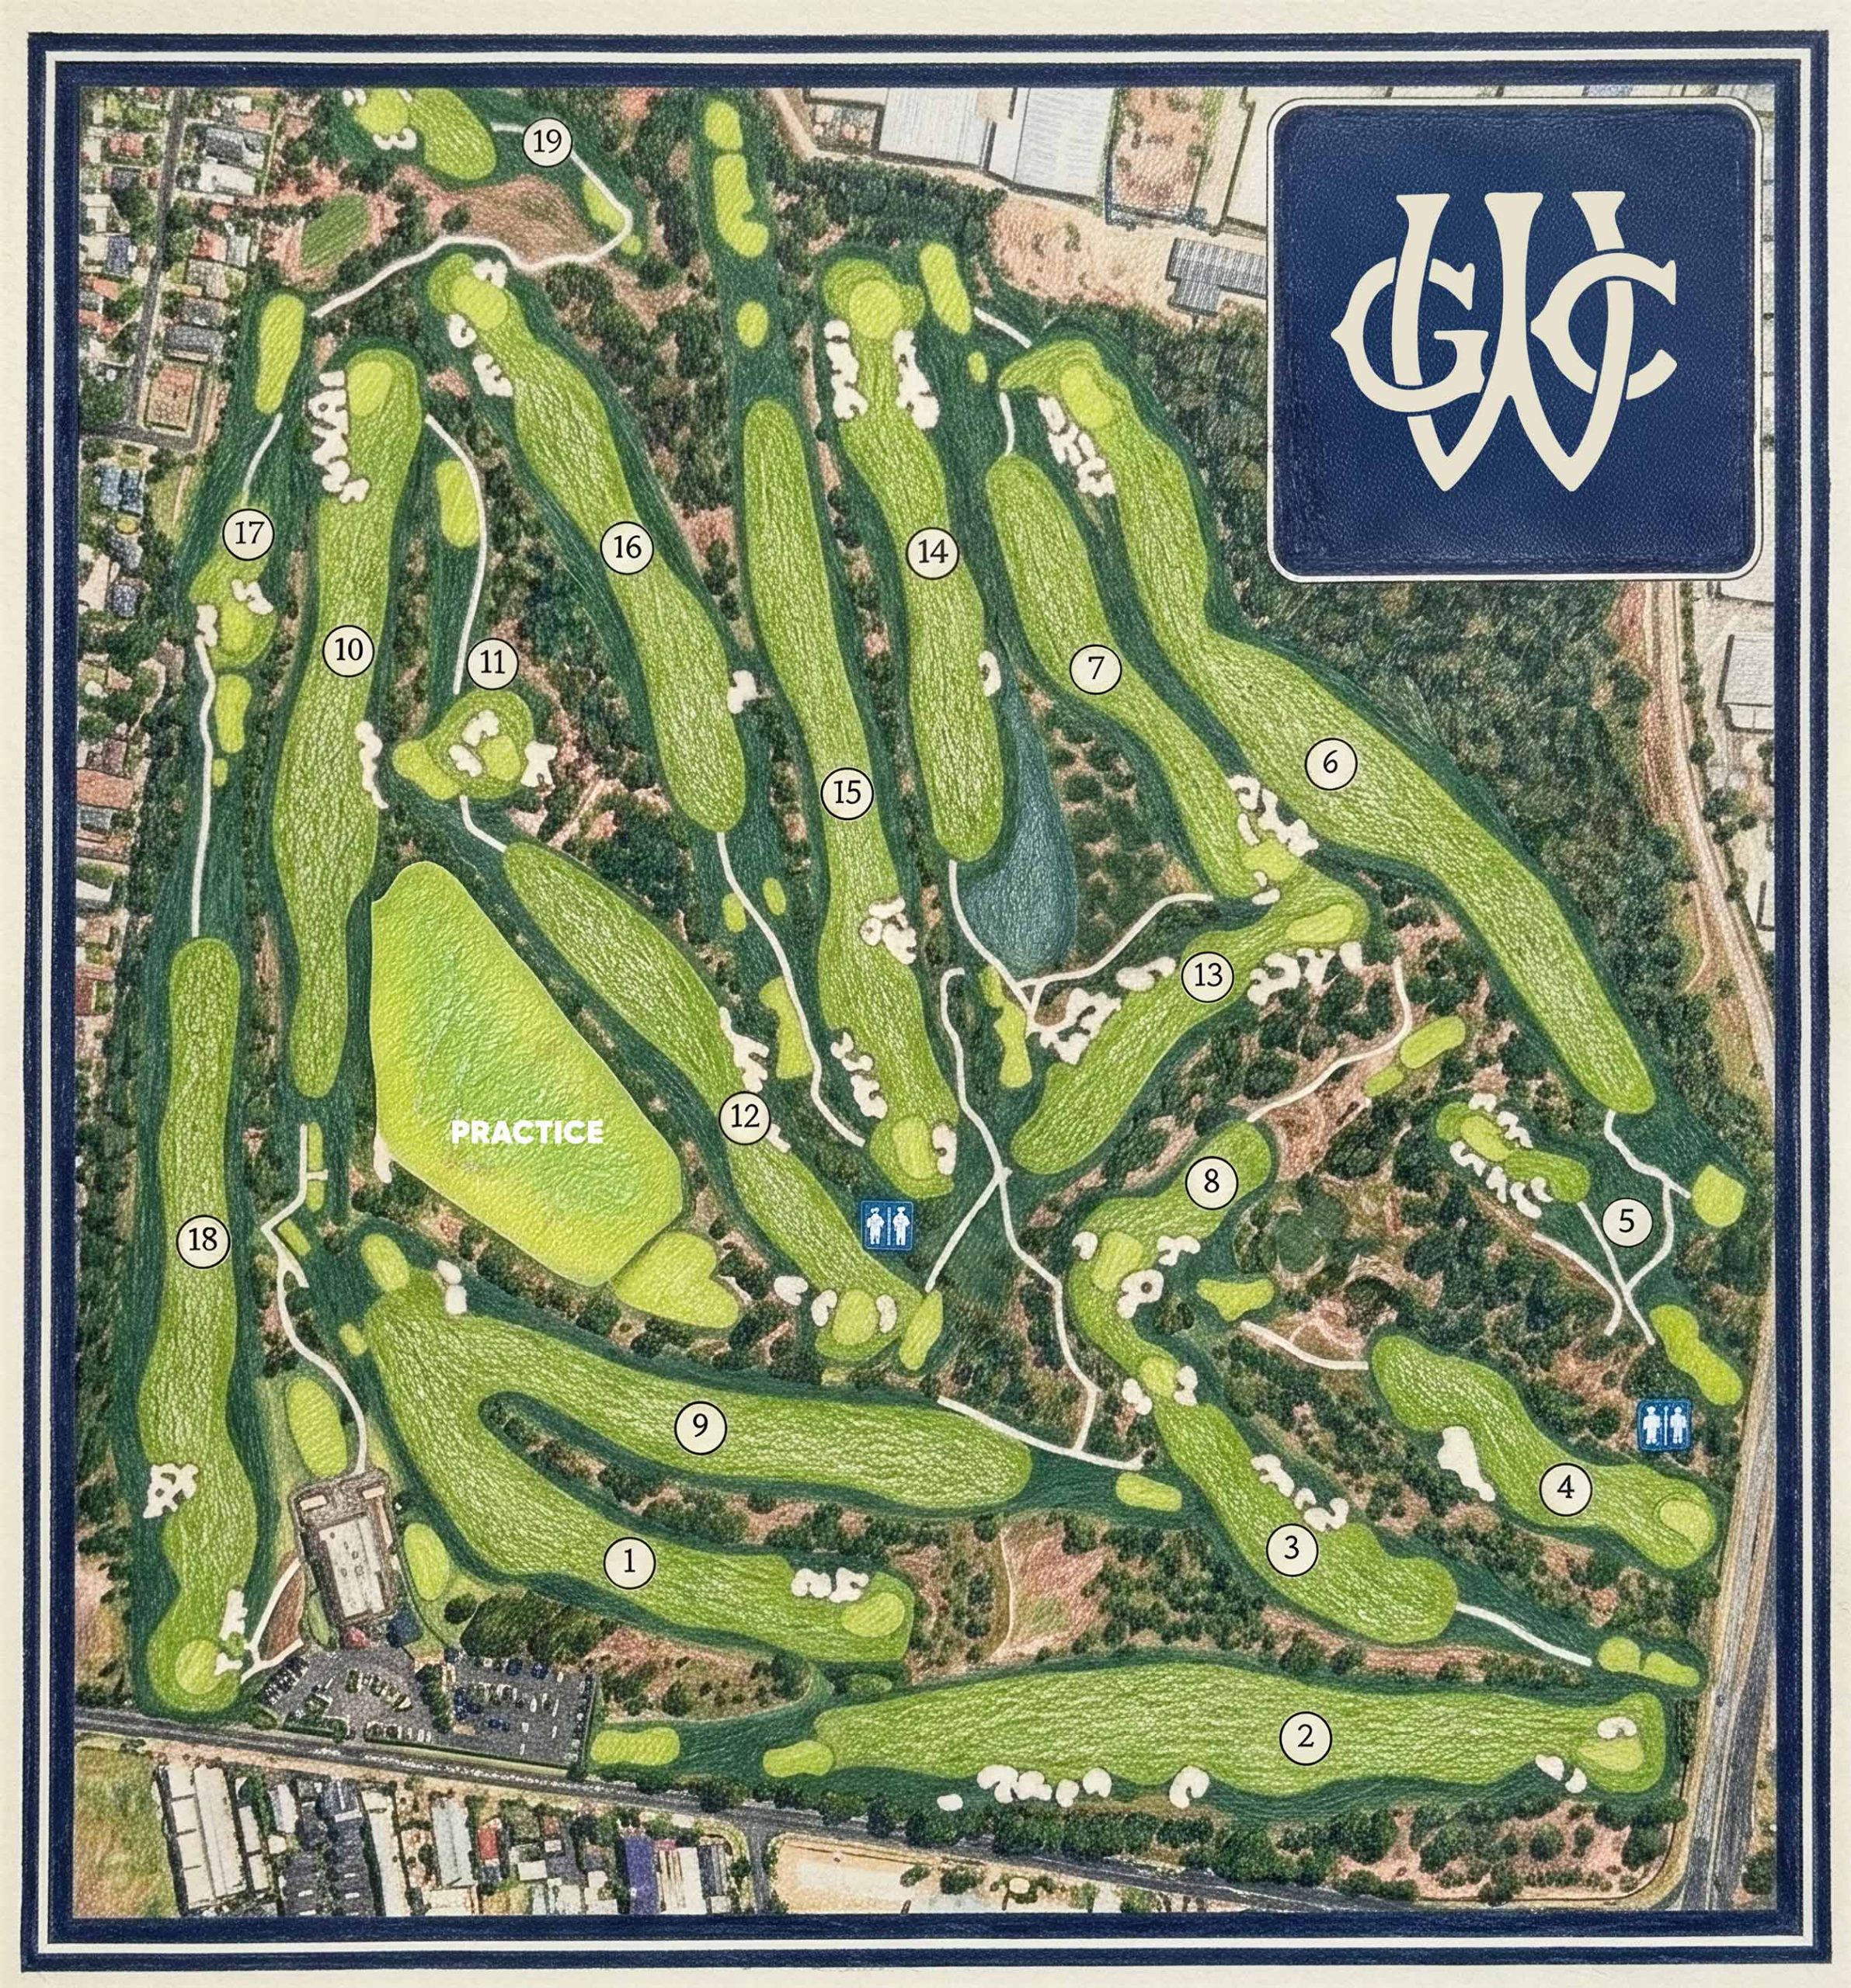
The Front Nine
1st
The Opening Gambit | Par 4
A testing dogleg to start the round. When playing down breeze, take an iron or 3-wood to leave a mid to short iron into a receptive green. Bigger hitters can shape a right-to-left shot around the corner for a genuine birdie opportunity. A hole that immediately sets the tone: position over power.
2nd
The Risk-Reward | Par 5
A good drive left of centre avoids the fairway bunkering and out-of-bounds fence along the right, giving longer hitters an opportunity to go for the green in two. Players of average length can lay up to leave a short iron into a small, narrow green. An early chance to gain a shot — if you plot your way sensibly.
3rd
The Cluster | Par 4
Players of average length must avoid a cluster of fairway bunkers on the right to leave a short iron to a small, well-bunkered green. Longer hitters can take on the corner to leave a short pitch and another birdie opportunity. Beware: any shots that run through this green leave a very difficult chip to a back-to-front sloping surface.
4th
The Tabletop | Par 4
Perhaps the most talked-about hole on the course. A short, straight driveable par 4 with no bunkers around the green — yet the narrow tabletop putting surface demands absolute precision. Any shots left or right of pin high leave a near-impossible up-and-down. You stand on the tee thinking birdie and can easily walk off with worse than bogey. The ultimate test of risk versus reward.
5th
The Sandbelt Classic | Par 3
Architecturally, this hole is a masterpiece of bunkering, often compared to the 5th at Royal Melbourne (West). The strategic bunkering common to Melbourne’s Sandbelt is on full display here. The difficult and narrow green is well-protected, requiring accuracy and astute club selection. It rewards the courageous but punishes the careless. A par 3 that embodies everything the Sandbelt stands for.
6th
The Navigator | Par 5
A well-placed tee shot is just the beginning of successfully negotiating this strategically designed par 5. The left-to-right sloping fairway requires a drive down the left side to avoid running toward the waiting bushland. Longer hitters can attempt to carry the trouble and leave a short pitch into a left-to-right sloping green. Better to miss this green on the right to avoid the difficult greenside bunkering on the left.
7th
The Dogleg | Par 4
An interesting but difficult medium-length par 4. Players can attempt to shape a right-to-left shot from the tee around the corner, or play safe with an iron or 3-wood. The reward for taking on the dogleg is a short iron into a very small target, well-protected by greenside bunkering in front and behind. Par is an excellent result here.
8th
The Yawning | Par 3
A long but eminently fair par 3 which presents a classic combination of bunkering and undulation to a generous green. A miss short right can leave a manageable chip; anything left will surely find one of the large yawning bunkers that await. The generosity of the green offers a moment to breathe before the challenges ahead.
9th
The Westerly | Par 4
A slightly dogleg par 4, generally played into a westerly headwind. The tee shot must be down the left-hand side to open the green for anything from a fairway wood to a medium-length iron. Large bunkers 20 metres short catch anything under-hit, and anything right of the green runs away, leaving a difficult up-and-down. Par is a good result here.
The Back Nine
10th
The Crest | Par 4
A challenging start to the back nine. A good straight drive can reach the top of the crest some 200 metres away. The approach must be accurate as thick woodland borders both sides and heavy bunkering protects this small green, which slopes away from left to right. Cross bunkers 40 metres in front catch anything short. The final hole in the famous 7–10 stretch — an excellent test of golf.
11th
The Breather | Par 3
The shortest of all par 3s at Woodlands. This small green is bordered on three sides by large bunkers and thick, wiry rough at the back. A welcome opportunity to catch your breath after the previous stretch of demanding holes — but don’t take it lightly.
12th
The Classic | Par 4
A shortish par 4 of classic design which rewards an accurate tee shot. The narrow fairway slopes away on the right, catching any loose drives, so anything left of centre is premium. A 3-wood from the tee is sensible depending on the wind. The narrow green is well-protected by deep bunkers either side, and a steep slope behind catches anything through.
13th
The Strategist | Par 4
While reachable for long hitters, the near-impossible task of clearing the deep greenside bunkers and holding the narrow green reduces the benefit of going for it. The strategic move is to position your ball short-left to provide the ideal angle into a well-protected target. A definitive example of why strategy trumps strength at Woodlands — and a genuine birdie opportunity if you play smart.
14th
The Corridor | Par 4
A straight tee shot is needed down a very narrow fairway, bordered on either side by heavy scrub and trees. The approach must then thread its way past extensive and deep bunkering on either side of the entrance to a green that is considered generous by Woodlands’ standards — though “generous” here is a relative term.
15th
Doak’s Choice | Par 5
Rated by world-renowned architect Tom Doak as one of the 18 best par 5s in the world. This monster requires three perfect shots. A fearsome set of cross-bunkers stretch across the fairway some 100 metres from the green; after negotiating these, an elevated green protected by a deep bunker left and steep slope right awaits. A par from the members’ tees is a great result. From the back, it’s a genuine achievement.
16th
The Prevailing | Par 4
A difficult par 4, generally played into the prevailing wind. The ideal tee shot position is right of centre to create a better angle into a green protected by a cluster of bunkers along the left-hand side. One of Alec Russell’s original designs from the mid-1930s, it retains the strategic sophistication that defined his work.
17th
Russell’s Jewel | Par 3
Another of Russell’s contributions, this par 3 features a receptive green well-protected on the right and in front by a set of deep bunkers. Anything left finds a steep slope running into a deep gully or thick rough beyond. Players who fail to find this green from the tee can struggle to make par. A hole that demands commitment to your club selection.
18th
The Closer | Par 5
A realistic birdie opportunity to close out the round. A good drive can clear the crest of the hill and run down the slope — but beware the out-of-bounds fence along the right. Cross-bunkers 100 metres from the green can be carried by longer hitters; otherwise, leave yourself a short iron to a receptive green. A satisfying finish to a round that will have tested every club in the bag.
19th
The Centenary Hole | Par 3
Designed by Tom Doak in 2013, this short par 3 sits harmoniously within the traditional layout. Built to commemorate our 100th year, it serves as a testament to our commitment to maintaining world-class architectural standards well into our second century. Few clubs in the world can claim a 19th hole designed by one of the game’s most celebrated architects.